Summary
Out of the box, a new gaming monitor rarely shows color the way its panel can. Color-science references describe a difference below a Delta E of 1 as effectively invisible to the human eye, with values between 1 and 2...
Table of contents
- 1 Why Calibration Changes How Games Look and Feel
- 2 A Short History of Display Calibration Standards
- 3 What You Need Before You Calibrate
- 4 Step-by-Step Color and Contrast Calibration
- 5 Brightness, Contrast, and Black Levels Decoded
- 6 Keeping Input Lag Low While You Calibrate
- 7 Hardware vs Software Calibration
- 8 How Often to Recalibrate
- 9 Frequently Asked Questions
- 9.1 Do I need a colorimeter to calibrate a gaming monitor?
- 9.2 What brightness should I set for gaming?
- 9.3 Will calibration increase input lag?
- 9.4 How long does monitor calibration take?
- 9.5 Should I calibrate in HDR or SDR?
- 9.6 How often should I recalibrate my monitor?
- 10 Related Reading
- 11 Sources
Out of the box, a new gaming monitor rarely shows color the way its panel can. Color-science references describe a difference below a Delta E of 1 as effectively invisible to the human eye, with values between 1 and 2 noticeable only on close inspection, according to Wikipedia’s overview of color difference. Plenty of displays leave the factory with average errors well above that range. Calibration is how you close the gap, aligning brightness, contrast, white point, and gamma so games look the way their artists intended while keeping response fast.
The process is not as intimidating as forum threads make it sound. You can get meaningful results from a careful menu pass alone, and excellent results with a sub-$200 colorimeter. This walkthrough covers the gear, the room conditions, the exact target numbers, and the settings that protect input lag so a sharper picture never costs you reaction time.
Why Calibration Changes How Games Look and Feel
Calibration does two jobs at once. It corrects color so skin tones, foliage, and UI elements match a known standard instead of a factory guess, and it sets luminance so dark scenes stay readable without washing out highlights. A horror game loses its tension when shadow detail is crushed to black, and a competitive shooter hides enemies in murk when gamma is set too high. Getting these right is the difference between a panel that technically works and one that performs.
Color accuracy also depends on which panel you own, because each technology trades contrast, viewing angle, and speed differently. If you are still choosing hardware or want to understand why two monitors with the same resolution can look so different, our breakdown of IPS, VA, TN, and OLED panels explains how the underlying tech shapes the picture before you ever open a menu.
Calibration sits inside a larger set of choices. Resolution decides how much detail the panel can resolve, refresh rate decides how smoothly motion flows, and color tuning decides how honest that detail looks. For the wider picture, the pillar guide to gaming monitor specs and technologies ties these threads together.
A Short History of Display Calibration Standards
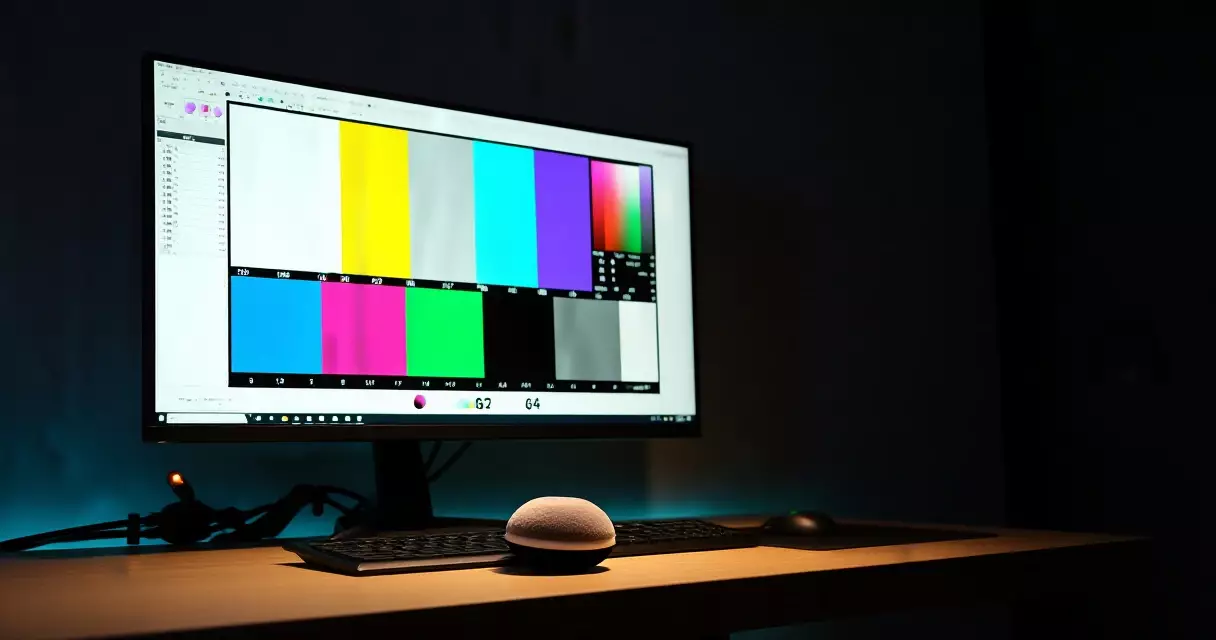
Modern calibration leans on a standard that predates most gaming monitors. The sRGB color space was defined in the IEC 61966-2-1 standard in 1996, built around a D65 white point and an approximate gamma of 2.2, as documented in Wikipedia’s entry on sRGB. That single agreement is why a screenshot can travel from a developer’s workstation to your desk and still look roughly the same.
The D65 reference itself comes from colorimetry research and corresponds to a correlated color temperature of roughly 6500 K, a daylight-like neutral that anchors most consumer targets, per Wikipedia’s article on Illuminant D65. National measurement bodies such as NIST maintain the photometric and colorimetric reference work that these consumer standards ultimately trace back to.
For years, accurate calibration meant ICC color profiles and software lookup tables loaded by the operating system. Gaming displays added a wrinkle, since profiles can be ignored by full-screen titles and some anti-cheat layers. That pushed manufacturers toward factory calibration reports and on-board correction, so the picture stays consistent whether or not the desktop profile is active. Knowing this history helps explain why two different calibration methods exist today, one living in software and one living inside the monitor.
What You Need Before You Calibrate
You can calibrate by eye using built-in test patterns, and that alone fixes the worst factory mistakes. For repeatable, measured results, a hardware colorimeter is the real upgrade. Popular consumer units pair with free software such as DisplayCAL or with vendor suites like Calman, reading actual light off the panel rather than trusting your perception.
- A colorimeter for color and luminance measurement, optional but transformative.
- Calibration software such as DisplayCAL, the open-source tool, or a vendor application.
- Stable room lighting, ideally dim and consistent, with no sunlight shifting across the session.
- A warm-up period of about 30 minutes so the backlight reaches a stable brightness.
- The monitor reset to factory defaults so you start from a known baseline.
Room light matters more than people expect. A bright window behind you forces the brightness up and skews your perception of black level, so calibrate in the lighting you actually game in. If glare and eye fatigue are concerns for your setup, our guide on whether gaming monitors are bad for your eyes covers ambient lighting and blue light alongside the brightness targets discussed below.
Step-by-Step Color and Contrast Calibration
Work through the panel in a fixed order, because each setting affects the next. Adjusting brightness after you have set the white point, for example, can undo the neutral gray you just dialed in. The sequence below moves from coarse to fine.
- Reset and pick a preset. Start from factory defaults and select a color mode close to sRGB or Standard rather than a vivid or game-branded profile.
- Set color temperature. Choose the preset nearest 6500 K, then fine-tune the red, green, and blue gain so a white field looks neutral, not blue or pink.
- Set brightness (luminance). Adjust the backlight, not the contrast control, until a white window measures your chosen luminance target.
- Set contrast. Raise contrast until the brightest near-white steps just begin to merge, then back off one notch so highlight detail survives.
- Check gamma. Aim for roughly 2.2 so midtones land where the standard expects, keeping shadow detail visible without flattening the image.
- Profile and save. If using a colorimeter, generate the profile, then store the result in a custom user slot on the monitor where possible.
The numbers below are the targets most consumer calibrations aim for. Treat them as a starting frame and adjust luminance to your room.
| Setting | Common target | Reference |
|---|---|---|
| White point | D65, about 6500 K | Wikipedia, Illuminant D65 |
| Gamma | Approx. 2.2 | Wikipedia, sRGB (IEC 61966-2-1) |
| Color space | sRGB for most games and desktop | Wikipedia, sRGB |
| SDR luminance | Around 120 cd/m² in a dim room | Standard SDR calibration practice |
| Color error goal | Average Delta E below 2 | Wikipedia, Color difference |
The Delta E goal is worth emphasizing. Since differences under 1 are essentially invisible and those between 1 and 2 show only on close inspection, an average error below 2 means the panel is honest enough that no normal viewing will reveal a fault, a benchmark drawn from the color-difference work cited above.
Brightness, Contrast, and Black Levels Decoded
Brightness and contrast are constantly confused, and the mix-up ruins many calibrations. Brightness, more precisely backlight luminance, sets how much light the panel emits overall. Contrast sets the ratio between the brightest white and the darkest black. Crank brightness to compete with a sunny room and you will fatigue your eyes; bury it too low and shadow detail vanishes. The roughly 120 cd/m² figure cited earlier suits a dim, controlled space, while a brighter room may call for more.
High dynamic range changes the math entirely, and this is where standards help you cut through marketing. VESA’s DisplayHDR program defines tiers by required peak luminance, so a label tells you what the panel must actually deliver. The table below lists the headline thresholds.
| DisplayHDR tier | Minimum peak luminance | Typical use |
|---|---|---|
| DisplayHDR 400 | 400 cd/m² | Entry HDR, modest impact |
| DisplayHDR 600 | 600 cd/m² | Mid-range, visible HDR pop |
| DisplayHDR 1000 | 1000 cd/m² | High-end LCD HDR |
| DisplayHDR True Black 400 | Peak with very low black level | OLED and similar emissive panels |
Those thresholds come from VESA’s DisplayHDR specification, with the tier structure also summarized on Wikipedia’s DisplayHDR page. The practical takeaway is that a DisplayHDR 400 panel will not produce the same highlights as a 1000-rated screen, so set HDR expectations to match the tier rather than fighting the menu to force brightness the hardware cannot reach. Black level depends on panel type too, which is why the resolution and panel choices in our guide to 1080p, 1440p, and 4K gaming influence how a calibration ultimately looks.
Keeping Input Lag Low While You Calibrate
A beautiful picture is worthless in a competitive match if it arrives late. Several image-processing features that improve color or smoothness can add latency, so calibration for gaming has to weigh accuracy against speed. The good news is that most low-lag settings live separately from color controls, so you rarely have to sacrifice one for the other.
- Enable the low-latency or Game mode, which bypasses heavier image processing.
- Turn off dynamic contrast and motion smoothing, since both add a processing delay.
- Tune overdrive carefully, choosing the level that sharpens motion without visible overshoot artifacts.
- Match refresh rate to your output so the panel runs at its rated speed.
- Use adaptive sync to remove tearing without the latency penalty of traditional v-sync.
Refresh rate and response time are distinct specifications, and confusing them leads to bad overdrive choices. A 240 Hz panel draws a new frame roughly every 4.17 milliseconds, the simple result of dividing 1000 by 240, but the pixel transition has to keep up or you get smearing. Our explainer on refresh rate versus response time shows why both numbers matter for game feel.
Adaptive sync deserves its own note because the two main implementations behave slightly differently. Picking the right one for your graphics card avoids stutter without inflating latency, and the trade-offs are laid out in our comparison of G-Sync and FreeSync. Once adaptive sync is on and Game mode is active, your color calibration can sit on top without dragging response time back up.
Hardware vs Software Calibration
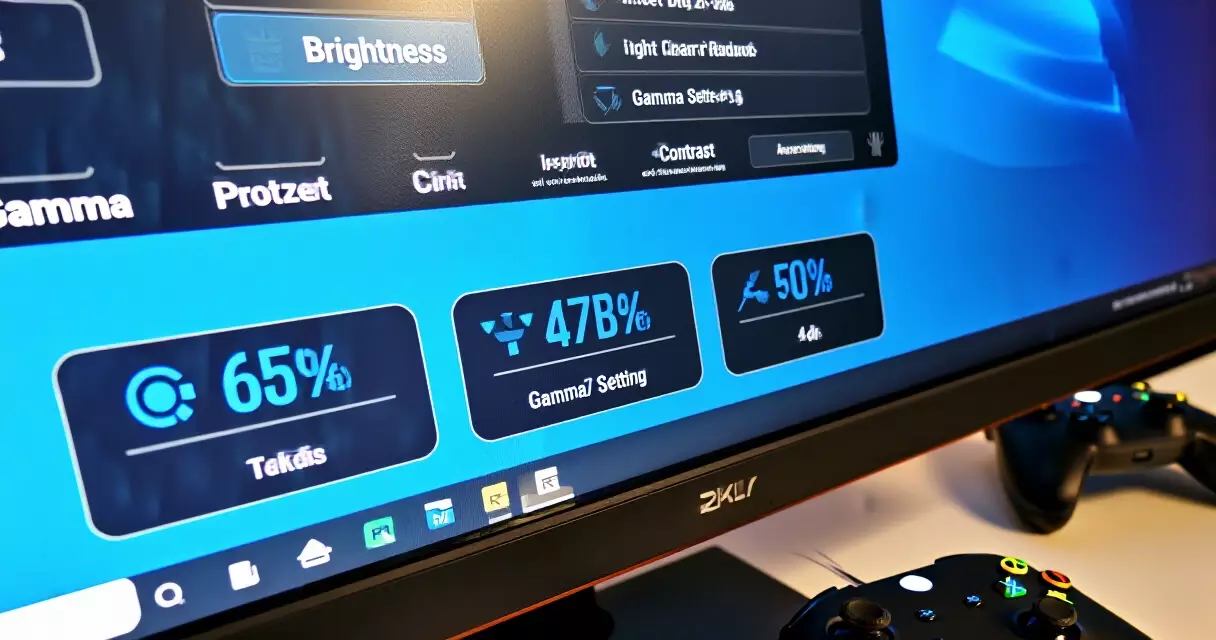
Two routes lead to an accurate display, and they suit different users. Software calibration loads a corrected profile from your operating system, which is flexible and cheap but can be skipped by some full-screen games. Hardware calibration writes the correction into the monitor’s own lookup table, so it travels with the panel regardless of what the game does, though it requires a supported display. The table contrasts them.
| Aspect | Software calibration | Hardware calibration |
|---|---|---|
| Where correction lives | OS color profile | Monitor internal LUT |
| Works in all games | Sometimes bypassed | Consistent everywhere |
| Cost | Free software plus a meter | Meter plus a supported monitor |
| Best for | Most users and mixed use | Creators and accuracy purists |
For the majority of players, software calibration with a colorimeter delivers the bigger leap in quality for the lower price, and a desktop profile covers browsing, video, and most titles. Hardware calibration is worth the premium when color work pays the bills or when you refuse to leave accuracy to chance in any application. Either way, the measurement gear is the part that actually moves the needle.
How Often to Recalibrate
Panels drift as they age. Backlights dim slowly and color shifts over thousands of hours, so a one-time calibration loses accuracy over months of heavy use. A practical rhythm for gaming is to recheck every few months, and sooner if you change the room lighting, swap a graphics card, or notice the picture looking off. OLED owners should expect more frequent drift early in a panel’s life as the emissive layer settles.
Keep your saved profile and target notes somewhere safe so each recalibration starts from your known preferences rather than from scratch. If you are weighing a new display as part of this, the practical advice in our gaming monitor buyer’s guide for 2026 pairs naturally with a calibration habit, since a panel with good factory accuracy needs less correction to begin with.
Frequently Asked Questions
Do I need a colorimeter to calibrate a gaming monitor?
No, you can improve a monitor noticeably using built-in test patterns and your own eyes, especially by fixing an oversaturated factory preset and a too-bright backlight. A colorimeter, however, removes the guesswork by measuring actual light off the panel, which is the only way to hit a target like an average Delta E below 2 with confidence. For casual play, a careful manual pass is fine. For anyone who values accuracy, edits photos or video, or simply wants repeatable results across recalibrations, a sub-$200 meter paired with free software is the single best upgrade you can make.
What brightness should I set for gaming?
For standard dynamic range in a dim room, a luminance near 120 cd/m² is the long-standing calibration convention, balancing visible shadow detail against eye comfort. Brighter rooms justify higher values, since you are competing with ambient light, and a sunny space may need substantially more. The key is to adjust the backlight control rather than contrast, because contrast governs the white-to-black ratio instead of overall output. HDR is a different case entirely, where peak luminance follows the VESA DisplayHDR tier your panel supports, so do not try to force SDR brightness rules onto an HDR signal.
Will calibration increase input lag?
Color calibration by itself does not add latency, because adjusting white point, gamma, and luminance changes how the panel displays a frame rather than how long it takes to process one. Lag creeps in from separate features such as dynamic contrast, motion smoothing, and aggressive image processing, which is why the low-latency Game mode disables them. The safe approach is to enable Game mode, switch off those extras, set overdrive to a clean level, and only then apply your color settings on top. Done this way, an accurate picture and fast response coexist without compromise.
How long does monitor calibration take?
Plan for about an hour the first time, and less afterward. Roughly 30 minutes of that is simply letting the backlight warm up so its brightness stabilizes before you measure anything. A manual pass through brightness, contrast, color temperature, and gamma takes maybe 15 to 20 minutes once the panel is warm. A colorimeter-driven profiling run adds another 10 to 30 minutes depending on how many measurement patches the software uses. Recalibrations go faster because you already know your targets and room conditions, so the bulk of the time is the warm-up, not the adjustment itself.
Should I calibrate in HDR or SDR?
Calibrate SDR first, since most games, desktop apps, and web content still run in standard dynamic range and benefit from an accurate sRGB-based setup. HDR follows different rules, where the goal is matching the panel’s certified peak luminance and preserving highlight detail rather than holding a fixed 120 cd/m² white. Many monitors keep separate settings or profiles for each mode, so an SDR calibration will not corrupt your HDR experience and vice versa. If your panel carries a VESA DisplayHDR rating, let that tier guide your HDR expectations instead of pushing the brightness slider blindly.
How often should I recalibrate my monitor?
Every few months is a sensible rhythm for a gaming display, with extra checks whenever something meaningful changes. Backlights dim and colors drift over thousands of hours, so accuracy fades gradually rather than failing all at once. Recalibrate sooner if you rearrange your lighting, move the monitor, swap a graphics card, or simply notice colors looking flat or tinted. OLED panels often shift more in their first months as the emissive layer settles, so newer OLED owners may want to check more frequently early on, then ease back to a quarterly schedule.
Related Reading
- Gaming Monitors Explained: Specs, Tech & Top Picks 2026
- 1080p vs 1440p vs 4K: Best Gaming Resolution?
- Are Gaming Monitors Bad for Your Eyes? Blue Light & Setup
- Best Gaming Monitor Settings for Competitive FPS Players
- G-Sync vs FreeSync: Adaptive Sync for Tear-Free Gaming
- Gaming Monitor Troubleshooting: Flicker, Black Screens & More
- IPS vs VA vs TN vs OLED: Gaming Monitor Panels Compared
- Refresh Rate vs Response Time: Why Both Decide Game Feel
- Alienware AW2725DF Review: 360Hz QD-OLED Tested
- ASUS ROG Swift OLED PG27AQDP Review: 480Hz 1440p OLED
- Dell (Alienware) vs ASUS ROG Gaming Monitors Compared
- Gigabyte M27Q Review: 1440p 170Hz Value With KVM
- LG UltraGear 27GR95QE-B Review: The OLED Sweet Spot?
- MSI MAG 274QRF QD E2 Review: Budget 1440p 180Hz Monitor
- Samsung Odyssey OLED G9 Review: Is the 49-Inch Worth It?
Sources
- Wikipedia, sRGB (IEC 61966-2-1, D65, gamma 2.2) – https://en.wikipedia.org/wiki/SRGB
- Wikipedia, Illuminant D65 (about 6500 K white point) – https://en.wikipedia.org/wiki/Illuminant_D65
- Wikipedia, Color difference (Delta E perceptibility thresholds) – https://en.wikipedia.org/wiki/Color_difference
- VESA, DisplayHDR specification (luminance tiers) – https://www.vesa.org/displayhdr/
- Wikipedia, DisplayHDR (tier summary) – https://en.wikipedia.org/wiki/DisplayHDR
- NIST (photometric and colorimetric measurement standards) – https://www.nist.gov/
Gaming Laptop Buyer’s Guide: Performance, Portability & Best Models